
Skip to main content
Search
- Connect your computer to an Ethernet port or the WiFi of the router (WiFi details should be on the bottom of the device)
- Open a web browser and navigate to 192.168.20.1
- Login with a username of “admin” and password of “admin” (or last 6 characters of the mac address, in lower case). If these details don’t work, reset the router.

- If connecting with ADSL
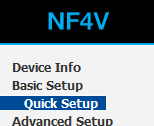
- In the left side navigation, click “Basic Setup” and then “Quick Setup”
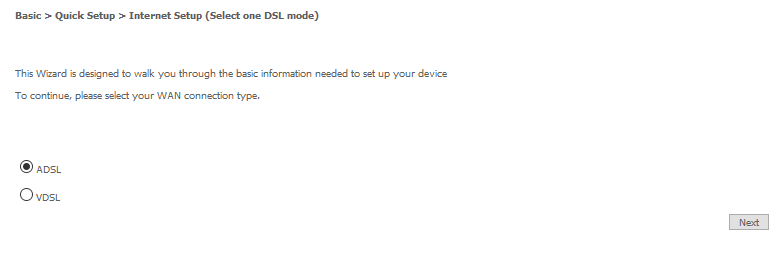
- Select “ADSL” and click “Next”
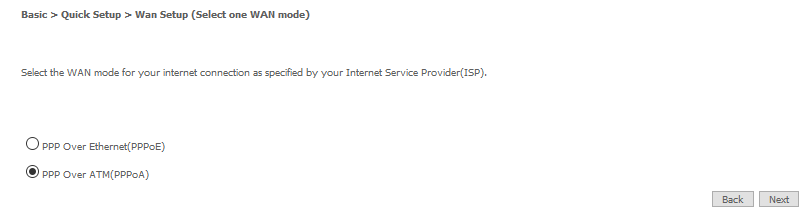
- Select “PPP Over ATM (PPPoA)” and click “Next”
- Enter the settings as below:
User ID: The username advised to you by our team
Password: The password advised to you by our team
VPI: 0
VCI: 100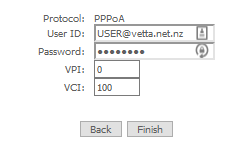
- Click “Finish”
- Reboot the router
- Congratulations! You should now be connected to the Vetta network
- In the left side navigation, click “Basic Setup” and then “Quick Setup”
- If connecting with VDSL
- In the left side navigation, click “Basic Setup” and then “Quick Setup”
- Select “VDSL” and click “Next”
- Select “PPP Over Ethernet (PPPoE)” and click “Next”
- Enter the settings as below:
User ID: The username advised to you by our team
Password: The password advised to you by our team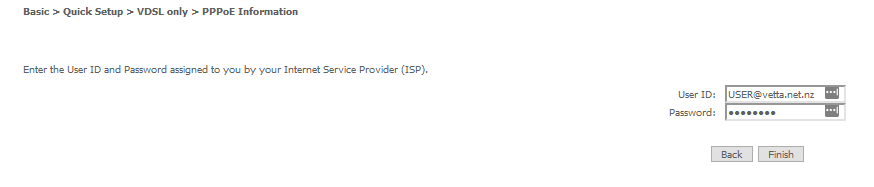
- Click “Finish”
- Reboot the router
- Congratulations! You should now be connected to the Vetta network
- In the left side navigation, click “Basic Setup” and then “Quick Setup”
- If connecting with UFB
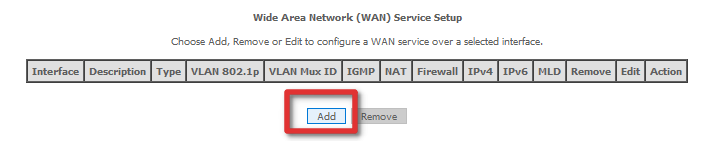
- In the left side navigation, click “Advanced Setup” and then “WAN Service”

- Select “Remove” on the existing entry and click “Remove”

- Click “Add”
- Click “Next”
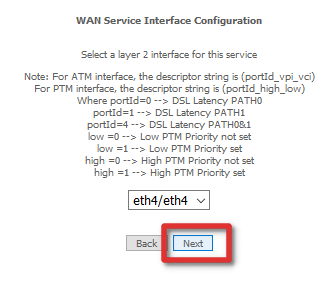
- Ensure “PPP over Ethernet (PPPoE)” is selected and click “Next”
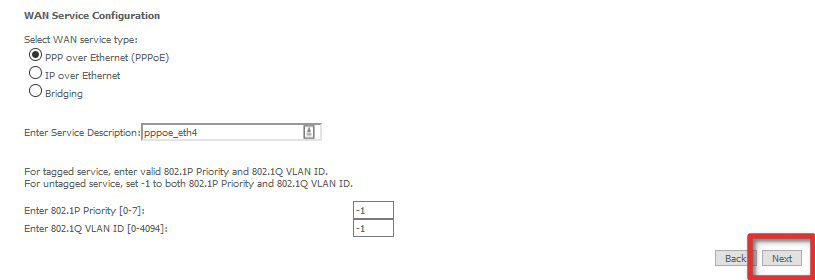
- Enter the settings as below:
PPP Username: The username advised to you by our team
PPP Password: The password advised to you by our team
PPPoE Service Name: Vetta
Click “Next”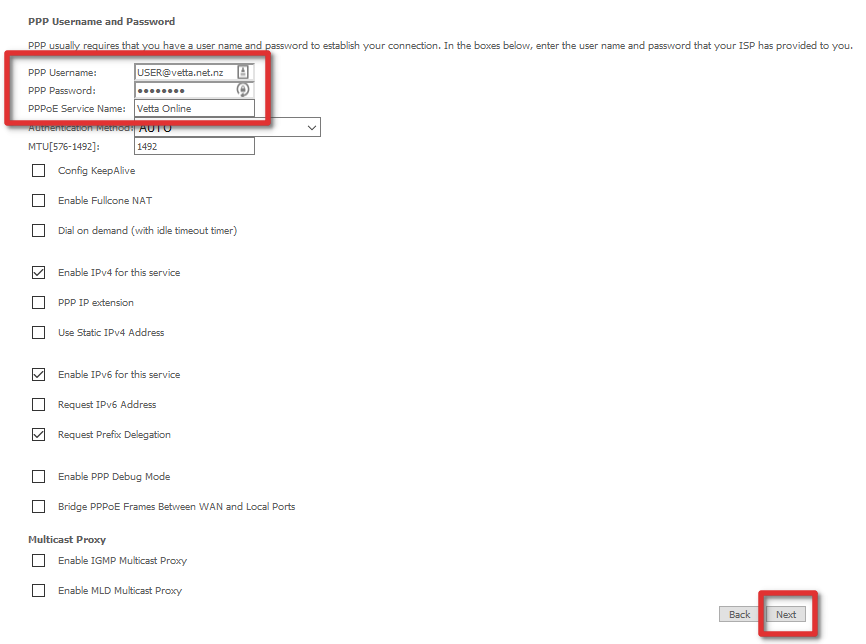
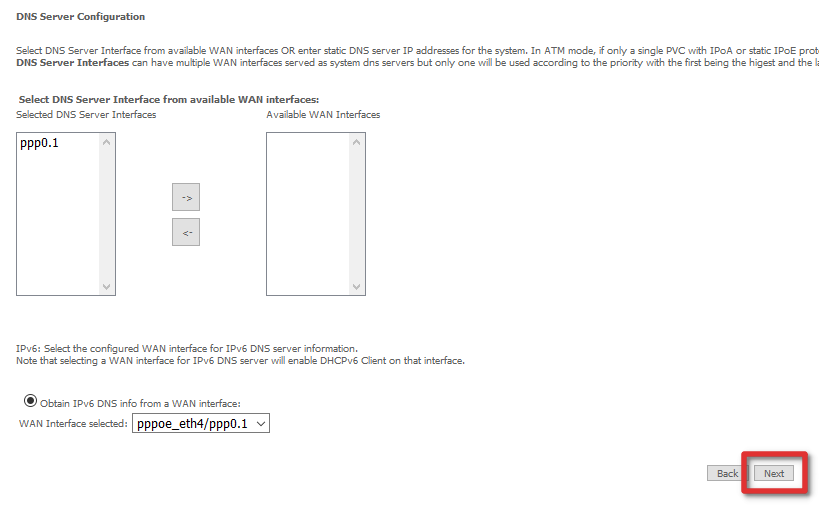
- Click “Next”

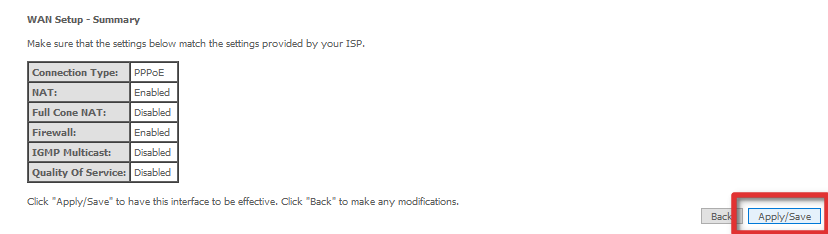
- Click “Next”
- Click “Apply/Save”
- Connect a cable from your ONT into port 4 on the back of the router, and reboot the router
- Congratulations! You should now be connected to the Vetta network
- In the left side navigation, click “Advanced Setup” and then “WAN Service”


Comments are closed.